NovaStar's LED Configuration Tools begin by requesting the number of horizontal and vertical pixels in each cabinet or panel that makes up the display. If you don't happen to have that number on hand, calculate (1000/pixel pitch) * the row length. Or just start counting...
Dimensions
The configuration parameters also include the overall dimensions of the display as determined as a multiple of the pixels defined in the receiving cards. Enter the number of rows and columns and LCT works out the rest. Select one of the preset data flow icons that reflect your cabling.
Viewing
Manage the calibration of your reds, greens and blues that make up a pixel, a panel or a display using online or offline tools to upload files, set and save, adjust or erase or reset calibration coefficients. Odds are you'll probably enjoy the results more than the work, but that's life.
Performance
NovaStar LCT does everything you might ask of configuration software. We are currently on version 5 so there is a wealth of knowledge and experience that has brought us to this point. LCT is just the nuts and bolts to get you up and running. Just be sure to read the manual.
Power
LCT is happy on any modern PC that runs a current copy of Windows. If your display is happier on a Mac, LCT Smart is available for OSX. Having invested in a gorgeous new LED that spans your lobby or welcomes your customers, maybe it is time for some fresh hardware.
Installation
Download LCT from our links below and open up the .zip file on your desktop. Then just double-click through to locate the application file and then follow the prompts from there to allow the serial driver to be installed or otherwise updated on the system hard drive.
Specifications · NovaStarViplex
Executive position wanted. Permanent or temporary.
Therefore, in your deliberations, when seeking to determine the military conditions, let them be made the basis of a comparison. ~ Sun Tzu
Version
1.3.4
Installation
Interface
Software · Manuals
NovaStarLCT
Windows
OSX
Android
iOS
NovaStarLCT Smart
Windows
OSX
Android
iOS
NovaStarViplex
Windows
OSX
Android
iOS
Instructions
ViPlex Express is LAN Screen Management software from NovaStar.
It can automatically search and connect to terminals in the same local area network (LAN), and is used for configuring screens, publishing Solutions and controlling Solution playing. Currently, it is available only for Windows PC.
ViPlex Express is used as the client software on PC for the Taurus series multimedia players.
Key Features
Friendly user interface: UI design takes full account of users’ habits.
Ease of use: The Taurus series players can be connected wirelessly and accessed easily.
Synchronous playing: Capable of playing the same content on different screens synchronously.
Dual Wi-Fi function: Capable of setting Wi-Fi AP mode and Wi-Fi Sta mode.
4G connection: Capable of setting mobile data network of the Taurus with 4G module.
Terminal binding: The Taurus series players can be easily bound to the cloud-based publishing system VNNOX and NovaiCare monitoring system.
Configuration List
Series Taurus
Before you begin installation, check that the PC has a current version of Microsoft .NET Framework with version 4.6.1 as a minimum.
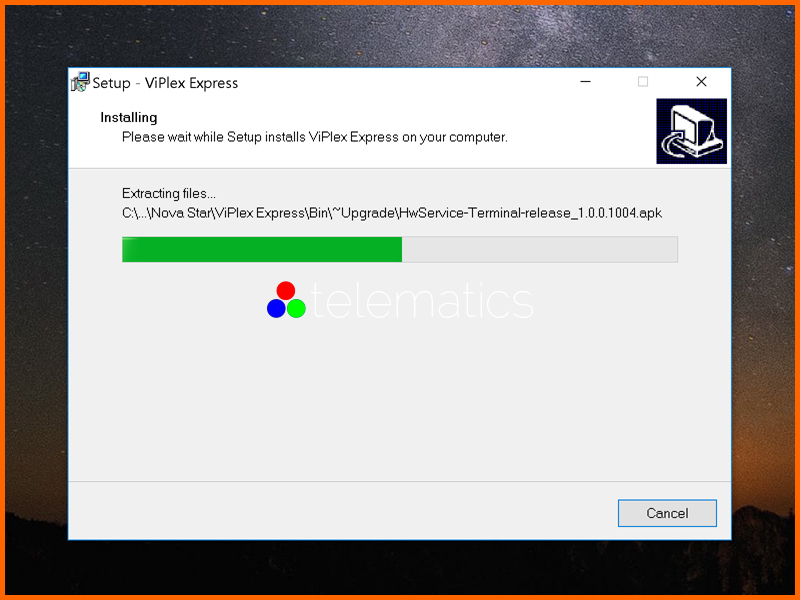
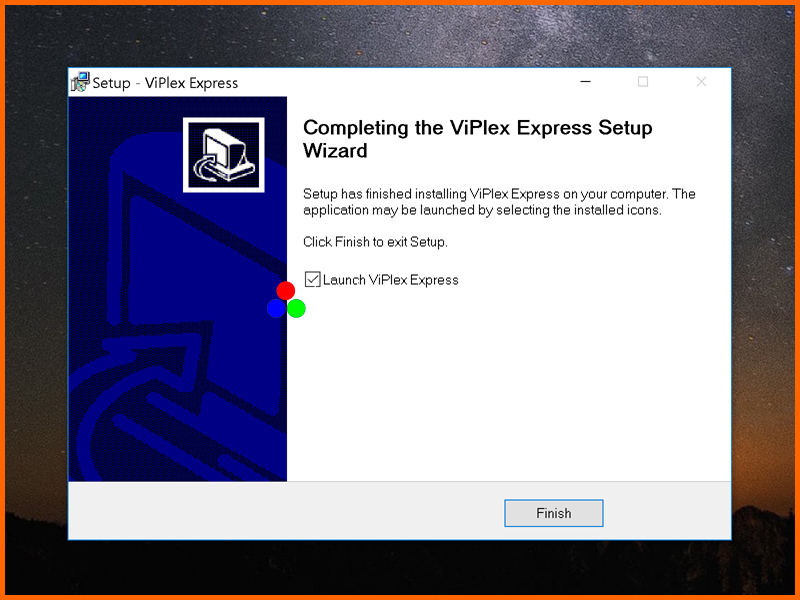
Operating Procedures
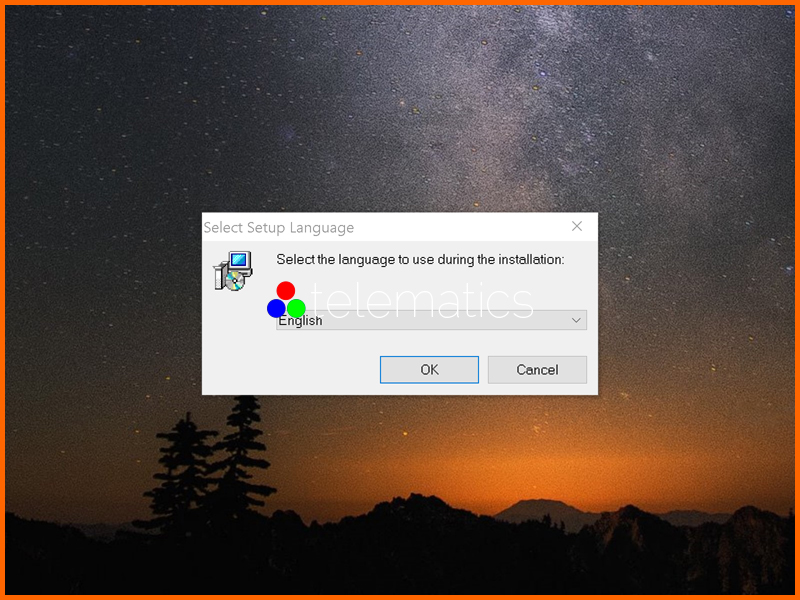
1. Double click the installer in setup.exe.
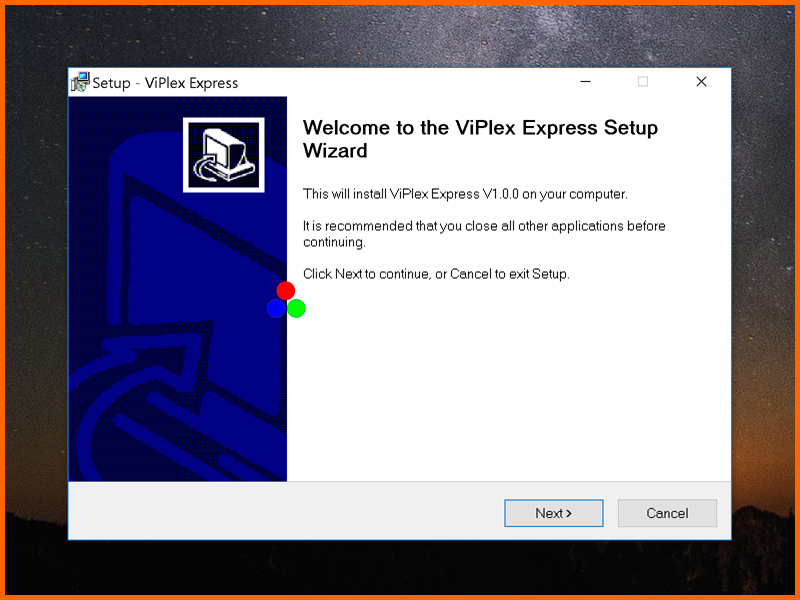
2. Select Next in the setup wizard.
3. Select installation path and select Next.
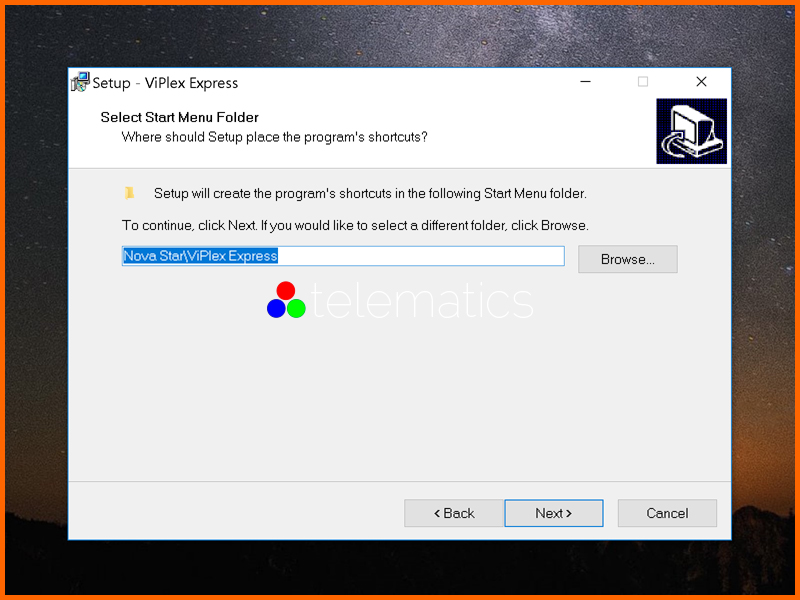
4. Select start menu folder and select Next.
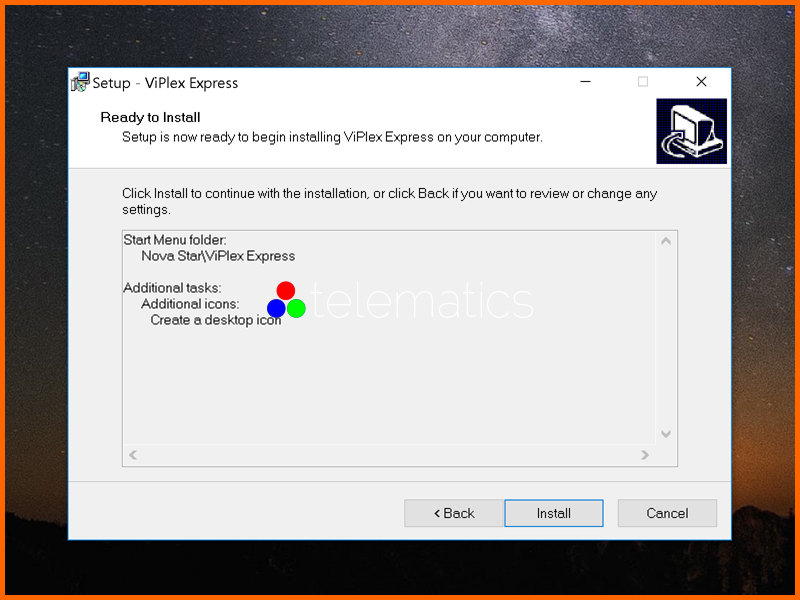
5. Select additional tasks and select Next.
6. Select Install.
Required Information
Connect Taurus Wi-Fi AP
Account name: AP + last 8 digits of the Player Serial Number as shown in this example: AP10000033
Default password: 12345678
Login to Taurus
Account name: admin
Default password: 12345678
Operating Procedures
ViPlex Express can connect to multiple Taurus series products.
1. Connect PC to the Taurus using Wi-Fi AP, the external router or Ethernet cable. If the IP addresses of the PC and Taurus are not on the same network segment and cannot be pinged successfully, click Refresh and select Specify IP to connect to the Taurus manually. If the PC and Taurus are connected through Ethernet cable and there is no other DHCP servers in the network, select the arrow icon on the top right of the page and select DHCP Service to turn on DHCP service to connect to the Taurus automatically.
2. Start ViPlex Express.
3. Click Refresh, and the screen list appears indicating that Taurus is online or offline. ViPlex Express will attempt to log into Taurus automatically with the default account
4. Login is indicated by the green icon. If this is not the case, go to Step 5.
5. Click Connect next to the screen information.
6. Enter your user name and password, and then select OK.
Related Operations
Right click the screen information to see the related operations.
Logout: Log out of the Taurus.
Rename: Rename the Taurus.
Password Modification: Modify the password used for the user “admin” to log in the Taurus.
Forget Password: Delete the user name and password used for last login. If the user enter the password of the user “admin” to log in Taurus, ViPlex Express will automatically save the account information and the user can log into Taurus automatically in future. When selecting Forget Password, the user will need to re-enter the account information when logging into Taurus.
How to create, edit, delete, import, export and publish Solutions.
Creating Solutions
Screen Size
1. Select New.
2. Enter the Solution name, screen width and height, and then select OK. The editing page of the Solution appears as described below:
🗀Editing Area ⭢🗀Editing Area Page Media ⭢🗀Property Editing Area ⭢🗀Buttons For Saving ⭢🗀Setting Button
🗀Buttons For Adding Media ⭢🗀Button For Publishing Solutions
Editing Area allows the user to create, copy and delete pages, and adjust the order of pages. .
Editing Area Page Media allows the user to delete media, zoom in or out pages, crop images and adjust media layout by first selecting a media.
Property Editing Area allows the user to edit widget properties and page properties by first selecting a widget. Widgets are the media added in pages.
Buttons For Saving allows the user to save a Solution or save one Solution as another.
Setting Button allows the user to set the default playing duration of a media.
Buttons For Adding Media allows the user to add media to a Solution page.
Button For Publishing Solutions allows the user to publish Solutions to terminals.
🗀Microsoft Office File ⭢🗀Sensor Media ⭢🗀Weather Widget ⭢🗀RSS Feed ⭢🗀Container
Image files include JPEG, BMP, GIF, PNG, WEBP.
Video formats supported by terminals include MPEG-1/2, MPEG-4, H.264/AVC, MVC, H.265/HEVC, Google VP8, H.263, VC-1, Motion JPEG.
Sensor Media will display the latest temperature detected by the sensor during Solution playback.
Container can contain all these media type which are played as sorted from top to bottom.
3. After the Solution is edited, select Save.
4. To publish the Solution, use the paper airplane icon and select one or more terminals.
Editing Solutions
In Solution list, perform any of the following operations to enter the Solution editing page.
Choose a Solution and select Edit.
Select a Solution name.
Deleting Solutions
In the Solution list, choose a Solution and select Delete.
Importing Solutions
1. Select Import.
2. In the dialog box, select the path.
3. Select Next.
4. When Progress shows 100%, select Done.
Exporting Solutions
Only Solutions that contain media can be exported.
1. In the Solution list, perform any of the following operations:
To export a single Solution, select the export icon that corresponds to the Solution.
To export a batch of Solutions , select multiple Solutions and click Export.
2. In the dialog box, select the path.
3. Select Export.
4. When Progress shows 100%, select Next.
5. Select the play mode and Solution.
Plug and play: As soon as the USB drive that stores the Solution is inserted into the Taurus, the Solution will be played. During playing, the USB drive cannot be removed.
Copy and play: After the Solution that is stored in the USB drive is copied to the Taurus, the Solution will be played. During playing, the USB drive can be removed
6. Select OK.
7. Enter the Taurus login password and click OK. If you click Skip, the Taurus will not identify the file. After the USB drive that stores the Solution is inserted into the Taurus, the Solution will be played only if the passwords match.
Publishing Solutions
A Solution can be published after media are added to the Solution.
Only one Solution can be sent to terminals each time.
One Solution can be sent to multiple terminals simultaneously.
To publish the Solution, use the paper airplane icon at the top right. On the Solution list page, follow these steps to publish Solutions.
1. Choose a Solution and select Publish.
2. Select Refresh in the Publish Solution dialog box to show the information of terminals which are currently logged in.
3. Select one or more terminals and select Publish.
The Advanced Solution includes a playback schedule. Users can create, edit, delete, import, export and publish advanced Solutions.
Creating Solutions
Screen Size
1. Select New.
2. On the New Advanced Solution page, enter the Solution name.
3. Select the Plus icon.
4. On the Add Playback Plan page, select an existing Solution, and set the validity period, repetition mode and playback duration.
5. Select Add.
6. Select Cancel.
7. Optionally, select the box next to Non-Scheduled Content to select a Solution as non-schedule content.
8. Select Add.
Editing Solutions
In the Advanced Solution list, perform any of the following operations to enter the Solution editing page.
Choose a Solution and select Edit.
Select a Solution name.
Deleting Solutions
In the Advanced Solution list, choose a Solution and select Delete.
Importing Solutions
1. Select Import.
2. In the dialog box, select the path.
3. Select Next.
4. When Progress shows 100%, select Done.
Exporting Solutions
Only Solutions that contain media can be exported.
1. In the Solution list, perform any of the following operations:
To export a single Solution, select the export icon that corresponds to the Solution.
To export a batch of Solutions, select multiple Solutions and click Export.
2. In the dialog box, select the path.
3. Select Export.
4. When Progress shows 100%, select Next.
5. Select the play mode and Solution.
Plug and play: As soon as the USB drive that stores the Solution is inserted into the Taurus, the Solution will be played. During playing, the USB drive cannot be removed.
Copy and play: After the Solution that is stored in the USB drive is copied to the Taurus, the Solution will be played. During playing, the USB drive can be removed
6. Select OK.
7. Enter the Taurus login password and click OK. If you click Skip, the Taurus will not identify the file. After the USB drive that stores the Solution is inserted into the Taurus, the Solution will be played only if the passwords match.
Publishing Solutions
A Solution can be published after media are added to the Solution.
Only one Solution can be sent to terminals each time.
One Solution can be sent to multiple terminals simultaneously.
To publish the Solution, use the paper airplane icon at the top right. On the Solution list page, follow these steps to publish Solutions.
1. Choose a Solution in the Advanced Solution List and select Publish.
2. Select Refresh in the Publish Solution dialog box to show the information of terminals which are currently logged in.
3. Select one or more terminals and select Publish.
6.1 General Function
There is a Read back button in each of the functions of screen control to read back terminal inforamtion to ViPlex Express so that the latest date are shown in the software.
6.2 Play Management
Manage the play mode, volume and content of terminals.
Enabling Synchronous Playing
Enabling or disabling the synchronous playing function will restart the terminal.
1. Select the target terminal in the terminal list.
2. Select Enable next to Synchronous Playing.
3. Select Confirm in the pop-up dialog box.
Adjusting Volume in Real Time
Drag the slider or enter a value to adjust volume. Volume can be adjusted only in asynchronous mode.
Managing Terminal Solutions
Viewing screenshot: Click View Screenshot to view the real-time screenshot of the solution which is being played on the terminal.
Playing a Solution: Move the mouse to the thumbnail of the Solution and select the Next icon.
Stopping a Solution: Move the mouse to the thumbnail of the Solution and select the Stop icon.
Deleting a Solution: Select a Solution in the Solution thumbnail list and select Delete.
6.3 Brightness Adjustment
Manually adjust the brightness or set rules of smart brightness adjustment.
Manual Adjustment
1. Select the target terminal in the terminal list.
2. Choose Manual, and drag the slider or enter a value to adjust screen brightness.
Smart Adjustment
Timing brightness adjustment: During the time period that you set to enable smart adjustment, the screen brightness will be the fixed value that you manually set.
Auto brightness adjustment: During the time period you set to enable smart adjustment, the screen brightness will be adjusted automatically according to the auto brightness adjustment table.
The auto brightness adjustment table divides the ambient brightness into several subsections and sets corresponding screen brightness to each subsection. The screen brightness will be automatically adjusted according to the ambient brightness subsection where the current ambient brightness belongs to.
1. Choose Smart to enter the smart adjustment page.
2. Perform the following operations based on actual needs.
Creating a rule: Select the Plus icon in the dialog box, choose Timing or Auto, and then set the corresponding brightness adjustment rules. At last, click Add.
Modifying a rule: Select a rule and click the Edit icon. Then modify the rule and click OK.
Deleting rules: Select one or more rules and select the Delete icon and in the dialog box select Confirm.
Clearing rules: Select the Brush icon and select Confirm in the dialog box.
Enabling a rule: In the rule list, turn on the Enable switch next to a rule.
Viewing the current brightness: Select the Rotating icon.
3. After configuration, select Apply.
6.4 Video Source
Control the video input mode, video source and output offset position.
Manual Mode
Immediately switch between the internal input source and HDMI input source.
1. Select the target terminal in the terminal list.
2. Select Manual and configure parameters.
3. Select Apply.
Timing Mode
Switch between the internal input source and HDMI input source at regular time.
1. Select the target terminal in the terminal list.
2. Choose Timing and configure rules. Perform the following operations based on actual needs.
Creating a rule: Select the Plus icon and in the dialog box select Internal or HDMI and then set the time and cycle to use the video source. At last, click Add.
Modifying a rule: Select a rule and select the Brush icon and in the dialog box select Internal or HDMI select Confirm.
Clearing rules: Select the Brush icon and in the dialog box and select Confirm.
Enabling a rule: In the rule list, turn on the Sure to enable switch next to a rule.
HDMI parameter configuration: Choose to enable the full screen zoom function or not, and set the position of the playing window.
3. After configuration, select Apply.
HDMI Preferred Mode
The HDMI port is preferred for playing the video in the synchronous mode.
1. Select the target terminal in the terminal list.
2. Choose HDMI preferred.
3. Choose whether to enable Full screen zoom and set the output position, that is, the position of the playback window.
4. After configuration, select Apply.
6.5 Screen Status Control
Set the current playing status of the screen.
Manual Control
1. Select the target terminal in the terminal list.
2. Choose Manual to enter the manual settings page. Then, select Blackout or Normal.
Timing Control
1. Select the target terminal in the terminal list.
2. Choose Timing to enter the timing settings page. Then, perform the following operations based on actual needs:
Creating a rule: Select the Plus icon and in the dialog box select Internal or HDMI and then choose Blackout or Normal and then set the playing time and cycle of the screen. At last, click Add.
Modifying a rule: Select a rule and select the Edit icon and then modify the playing time and cycle of the screen. At last, click OK.
Clearing rules: Select the Brush icon and then select Confirm.
Enabling a rule: In the rule list, turn on the Enable switch next to a rule.
3. After setting, select Apply.
6.6 Time Synchronization Manager
Set the time synchronization rules of the Taurus.
1. Select the target terminal in the terminal list.
2. View the current time zone and time.
If the current time zone observes daylight saving time and it is in the daylight saving time period, Daylight Saving Time will be displayed, otherwise it will not be displayed.
3. Select a time synchronization mode.
Manual: Select a time zone from the Time zone drop-down list and the Taurus will synchronize the time according to the time in the selected time zone. The time displayed under Manual is a reference value calculated by ViPlex Express based on the selected time zone. Standard time = UTC + Time offset. Daylight saving time = UTC + Time offset + Daylight saving time offset.
NTP: After an NTP server is configured, choose the configured NTP server from the Server drop-down list and the Taurus will synchronize the time according to the NTP server time. Note: To configure an NTP server, click at the top right of the page and choose Custom server.
RF: After you install a time synchronization device, set the following information for time synchronization. Note: You can check the installation status of the RF module by clicking RF module detection. Group ID: Enter the same group ID for the Taurus units that need time synchronization. That means you put those Taurus units in the same group. Reference device of time synchronization: Other Taurus units in the same group will synchronize the time according to the time of the reference device. Time source of reference device: The reference device can synchronize the time according to the NTP server time.
4. After setting, click Apply.
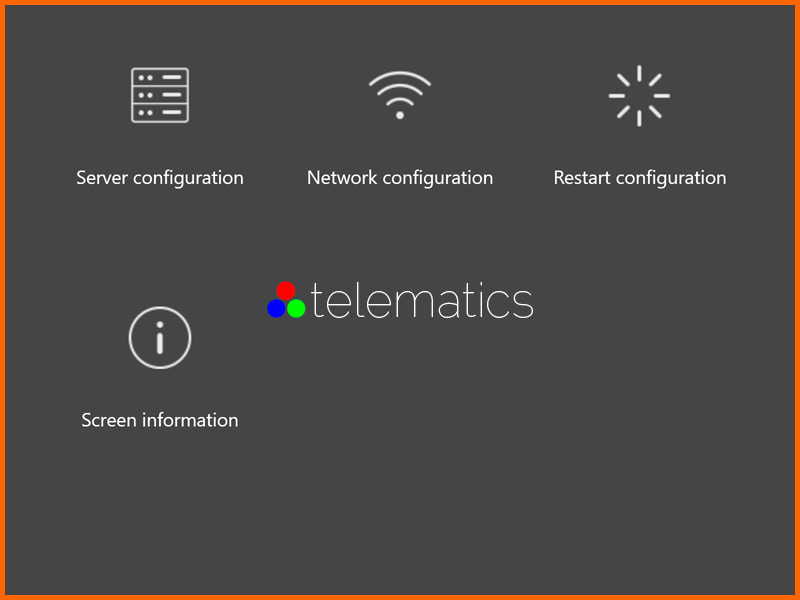
6.7 Restart Configuration
Restart terminals immediately and configure restart rules.
Restarting Taurus
1. Select the target terminal in the terminal list.
2. Click Restart promptly.
3. Click Confirm in the pop-up dialog box to restart the terminal immediately.
Configuring Restart Rules
1. Perform the following operations based on actual needs.
Creating a rule: Click the Plus icon. Set the time and cycle to restart a terminal in the pop-up dialog box and then click Add.
Modifying a rule: Select a rule and select the Edit icon to modify the time and cycle to restart a terminal and then click OK.
Deleting rules: Select one or more rules and click the Delete icon and click Confirm in the dialog box.
Clearing rules: Select the Brush icon, and then click Confirm in the dialog box.
Enabling a rule: In the rule list, turn on the Sure to enable switch next to a rule.
2. After setting select Apply.
6.8 Color Temperature
Set the screen display’s color temperature, including neutral white, standard white and cool white.
1. Select the target terminal in the terminal list.
2. Select a color temperature type.
6.9 Monitor
1. Select the target terminal in the terminal list.
2. Check the terminal hardware information listed below. If the terminal has an external storage device, you can also check the external storage information.
Disk size
Available memory
CPU usage
Ambient brightness
3. If you want to clean up the hard disk, click Clear All Media to delete all the media and Solutions.
6.10 Play Log
View and export play logs.
Viewing Play Logs
1. Select the target terminal in the terminal list.
2. Choose the time range of the play log that you want to view and then click Query.
3. In the play log list, click a play log name to view the log details.
Exporting Play Logs
1. Select the target terminal in the terminal list.
2. In the play log list, select the target play log.
3. Select Export.
4. Choose the path.
5. Select OK.
6.11 Font Management
Manage the fonts used by the Taurus.
Adding Font Names
1. On the top of the Font management page, choose Font name.
2. Select the target terminal in the terminal list.
3. Select the Plus icon next to Name to acquire local fonts on the PC.
4. Select the target font in the dialog box.
5. Select OK.
6. Select Update. The update progress will be shown in the Update result column.
Adding Font Files
1. On the top of the Font management page, choose Font name.
2. Select the target terminal in the terminal list.
3. Select the data path next to Name.
4. Select Open.
5. Select Update. The update progress will be shown in the Update result column.
Deleting Font Files
1. Select the target terminal in the terminal list.
2. Select Read back at the bottom right to read back the fonts on the terminal.
3. Select the link in the Font column of the target terminal. The Font list in terminal page is displayed.
4. Select target fonts.
5. Select Delete.
6.12 Network Configuration
Configure current network, including wired network, Wi-Fi AP, Wi-Fi Sta and mobile network.
Configuring Wired Network
It is required to set static IP address for Taurus while connecting Taurus via Ethernet cable. Set IP address based on actual needs while connecting Taurus to the Internet via Ethernet cable.
1. Select the target terminal in the terminal list.
2. In the Wired network configuration area, perform the following operations based on actual needs.
Select Enable next to Dynamic DHCP to get IP address automatically.
Deselect Enable next to Dynamic DHCP and configure static IP address.
3. Select Apply.
Configuring Wi-Fi AP
The default SSID of terminal Wi-Fi AP is AP + the last 8 digits of the Serial Number and the default password is 12345678.
1. In the Screen AP configuration area, turn on AP.
2. Enter the SSID and password of terminal Wi-Fi AP.
3. Select Apply.
Configuring Wi-Fi Sta
If the external router is connected to the Internet, terminals can access Internet via the external router after Wi-Fi Sta is configured.
1. In the Wi-Fi configuration area, turn on Wi-Fi.
2. Double click the Wi-Fi information of the external router, enter password and then select OK.
Configuring Mobile Network
Terminals with 4G module can access Internet via the mobile network.
1. Insert 4G card into the slot.
2. On the Mobile network configuration page, turn on Mobile network.
3. Select the Arrow icon to expand the APN configuration page.
4. Select Add.
5. Enter parameters according to the APN information provided by the carrier and then select OK.
6. Select the APN and select Connect.
6.13 Server Configuration
6.13.1 Binding VNNOX Players
You can bind a terminal to VNNOX Lite and create an asynchronous player, or bind to an existing asynchronous player on VNNOX Pro. Multiple terminals can be selected and bound to VNNOX Lite in batches.
Viewing Authentication Information
1. Visit http://www.vnnox.com and log in to VNNOX Lite or VNNOX Pro.
2. Enter the player authentication information page and view the server address, authentication user name and password.
VNNOX Lite: Choose account.
VNNOX Pro: Choose Organization Management and System Management and click the Player Authentication tab.
Binding Players
1. Select the target terminal from the terminal list.
2. In Configure parameters for connecting screens to VNNOX, select VNNOX server and enter the authentication user name and password. The authentication information must be consistent with the information on VNNOX.
3. Select the Refresh Icon next to the Player.
4. Perform one of the following operations as required and click Bind.
Select Bind to VNNOX Lite from the drop-down list to bind the terminal to VNNOX Lite and create an asynchronous player.
Select an asynchronous player from the drop-down list to bind the terminal to the existing player on VNNOX Pro.
6.13.2 Binding NovaiCare
Terminals can be registered on NovaiCare. Multiple terminals can be selected for batch operations.
1. Select the target terminal from the terminal list.
2. In Configure parameters for connecting screens to NovaiCare, select the server address and enter the login user name of the NovaiCare server.
3. Select Send.
6.14 Screen Upgrade
Upgrade the application software and system software of terminals. Note: Keep the power on during upgrade.
Upgrading Application Software
1. Select Screen software.
2. Select upgrade package path.
3. Select one or more terminals in terminal information list and click Upgrade.
Upgrading System Software
1. Select Screen system.
2. Select upgrade package path.
3. Select one or more terminals in terminal information list and then click Upgrade.
6.15 Screen Information
Information displayed here includes the terminal MAC address, terminal IP address, system software version, product model, application software version.
At the top right of the software user interface, select the Drop-down Arrow icon to show the system menu and choose to edit a menu item.
🗀Language ⭢🗀RF Management ⭢🗀Custom Server ⭢🗀DHCP Service ⭢🗀Setting ⭢🗀Help ⭢🗀About
Language: Set system language, including Chinese, English and Japanese.
RF management: Manage the playback of all Taurus units except the reference device when the RF time synchronization mode is enabled. Before operation, enter the password “admin”.
Custom Server: Add, modify or delete custom servers.
DHCP Service: Turn on or off DHCP service. If the PC and Taurus are connected through Ethernet cable and there is no other DHCP servers in the network, turn on DHCP server to connect to Taurus automatically. If the connection is not stable, please set a static IP address for the PC. Note: Before you turn on the DHCP service, turn off the firewall of the PC or set the policy for ICMP echo reply.
Setting: Set the storage path of files, including the ViPlex Express configuration files, data, temporary files, etc. Enable or disable the terminal auto re-connection function, and set the re-connection interval.
Help: View ViPlex Express User Guide.
About: Show the version of ViPlex Express and the official website of NovaStar.
8.1 Image
8.2 Audio
8.3 Video
Fine Print
Specifications
NovaStar and Telematics reserves the right to change any specifications without prior notice.
Factory Warranty
Faulty components to be repaired or exchanged for 3 years from the date of shipping.
The Sales Pitch
So here's the deal...
Energy may be likened to the bending of a crossbow; decision, to the releasing of a trigger. ~ Sun Tzu
About Telematics
Telematics is a federally-incorporated company based in Vancouver since 2000. Our global partners manufacture innovative LED display panels, cabinets, curtains, interactive video floors and the systems that control them. We distribute the world's most advanced touch skins and rear projection films that turn any window into a massive display.
Our high-volume relationship with our manufacturers and low corporate profile allows us to provide aggressive pricing and personalized service to a world-wide network of principals and project managers in the audio-video and digital signage industry. We also sell directly to businesses and individuals who select and install their own systems with the assistance of local tradesmen and engineers.
Our Manufacturers
NovaStar is one of the leading LED display solutions providers in the world, with product lines that include LED display synchronous and asynchronous control systems, point-by-point calibration and cloud-based information publishing and management.
The Beijing Olympic Games, Tienanmen Celebration for the 60th Anniversary on National Day,Shanghai World Expo, Guangzhou Asian Games, Xi'an International Horticultural Expo, Games for University Students and other large-scale events all relied on control systems are provided by Nova.
Through constant innovation, NovaStar now holds more than 20 proprietary intellectual property rights in LED display control, cloud computing and other fields.
NovaStar has been awarded the Xi'an Award for Science and Technology and the Shaanxi Award for Science and Technology.
Our Customers
For 18 years we have developed business relationships with thousands of people from every corner of the world.
Many are audio visual professionals and consultants who need to source premium equipment for their clients. Others are architects and designers looking for solutions to create LED walls or interactive floors. And some are end-users prepared to take on the challenge of setting up their own digital displays.
In each case, we provide our customers with the answers they need and endeavor to offer solutions that are affordable, effective and reliable.
And we always keep their secrets to ourselves.
Our Cool Videos
A video is worth a thousand likes.
The onrush of a conquering force is like the bursting of pent-up waters into a chasm a thousand fathoms deep.~ Sun Tzu
S5 Box
Pricing · NovaStar Control
We respect the value of your time. Use these numbers to ballpark the costs for your project. Then call us for a quote.
Now the general who wins a battle makes many calculations in his temple ere the battle is fought. ~ Sun Tzu
Don't drive yourself crazy trying to figure out the right series and the correct specifications and dimensions for your project. Just contact our offices and in ten minutes we can review everything and find out what works best for the space and the budget. There...I'm feeling better already.
Order
If you are like everyone else, you will leave this part to the last possible moment. Then we will share in your stress and jump through every imaginable hoop to meet your evolving schedule. We strive to have the most popular NovaStar products in stock at all times, but orders are first-come first-serve.
Ship
We can ship your order by air or ground as your budget and time allows. Shipping and Customs schedules can be estimated, but are external variables that are outside of our control. Allow plenty of time for unexpected delays. You would not believe how many National Holidays are observed in China. Seriously.
Install
Your installation will include a PC for content and a NovaStar controller to direct that content to the display. There will be power and data cables to hook everything up and a frame or support beams to mount your display. If you need assistance with this, Telematics can often suggest a local partner.
Service
NovaStar provides their full technical expertise to assist Telematics and our clients with any issues where we have requested their assistance. Most problems are diagnosed and resolved very quickly using remote access software, Skype and webcams or a simple exchange of emails and phone calls.
Warranty
NovaStar supports their products with a comprehensive 3-year factory warranty that is completely free of fine print from the Law Firm of Obfuscate, Muddle and Flummox, and is instead defined by simply keeping our customers' confidence by standing behind each and every product they make.
Contact · Telematics Canada
Politely awaiting your call. It's a Canadian thing...
Sun Tzu said: We shall be unable to turn natural advantage to account unless we make use of local guides. ~ Sun Tzu
Telematics Canada
375 Water Street, Suite 200 Vancouver, BCV6B 0M9 Canada
8:00 am to 8:00 pm
(1) 604.331.8795 This email address is being protected from spambots. You need JavaScript enabled to view it. telematics.canada