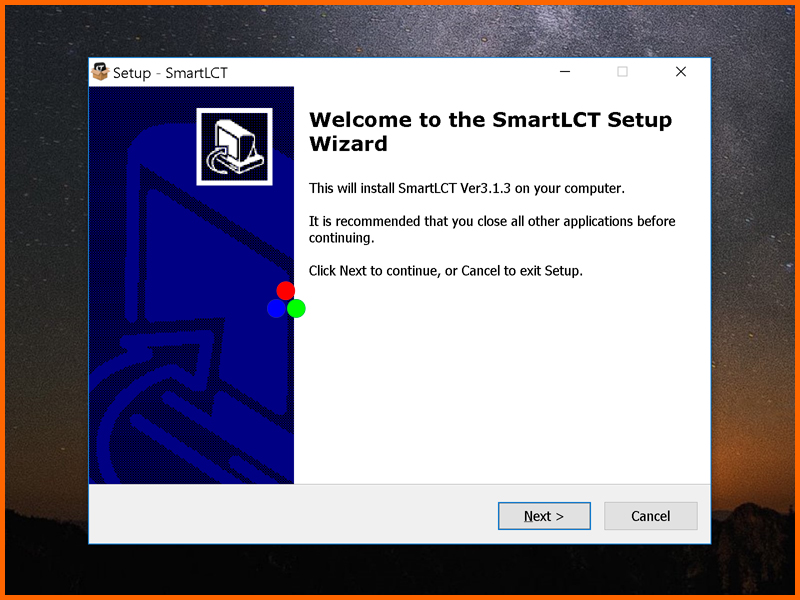

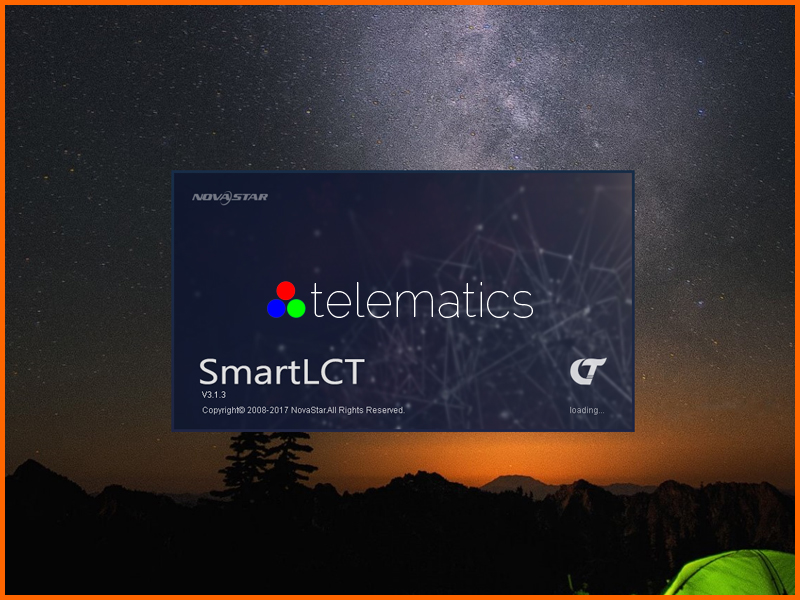
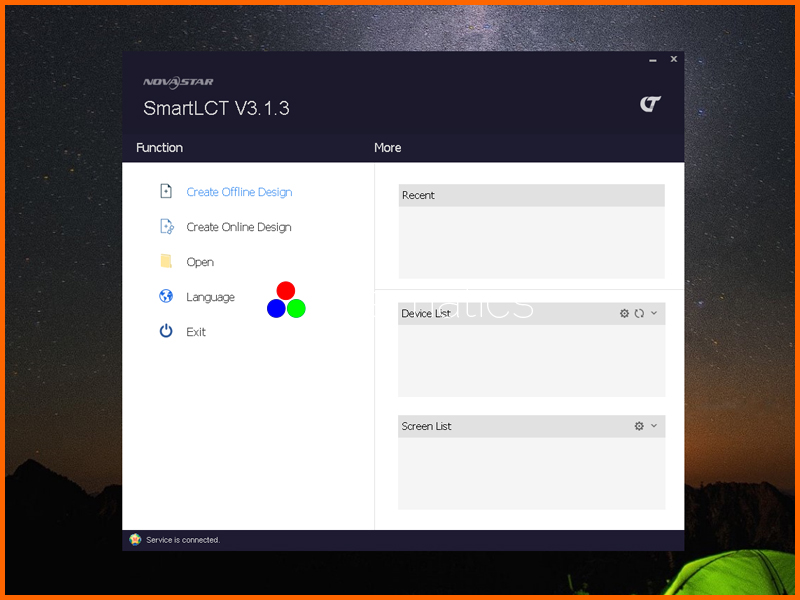
LCT Smart is the new generation of screen configuration software from NovaStar.
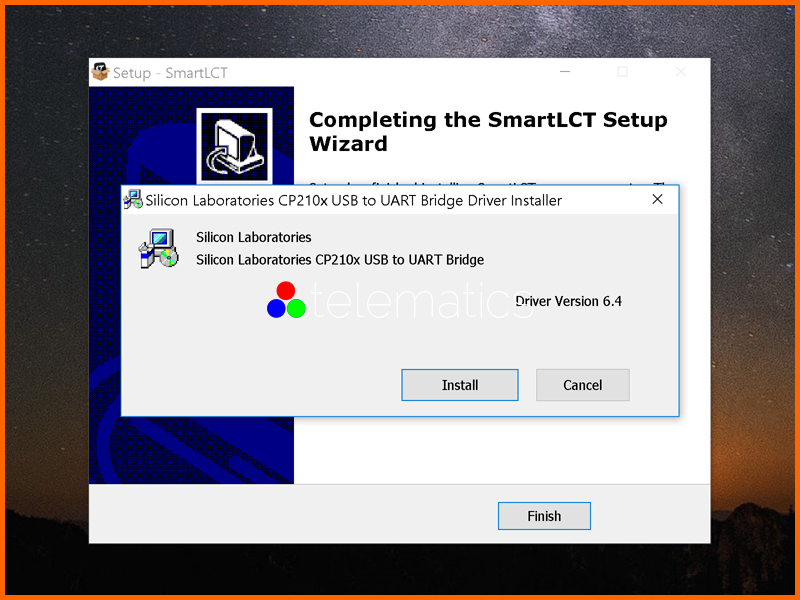
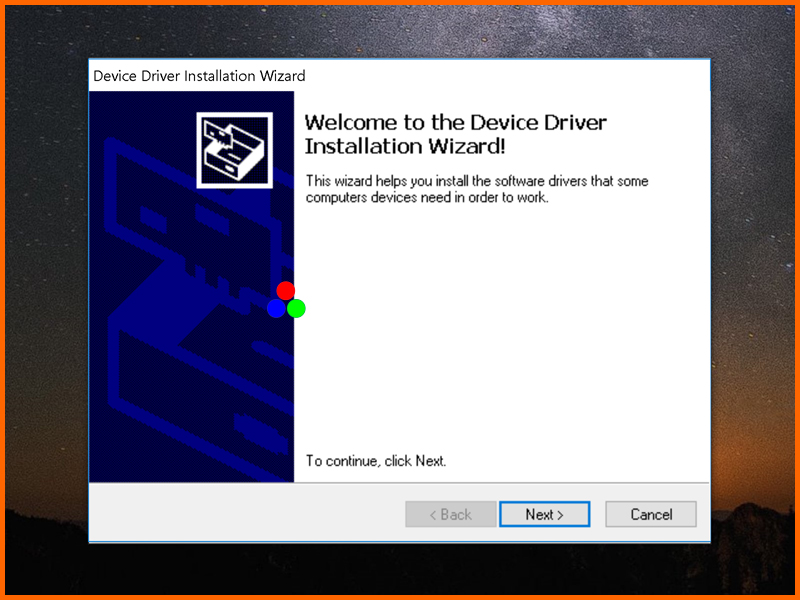
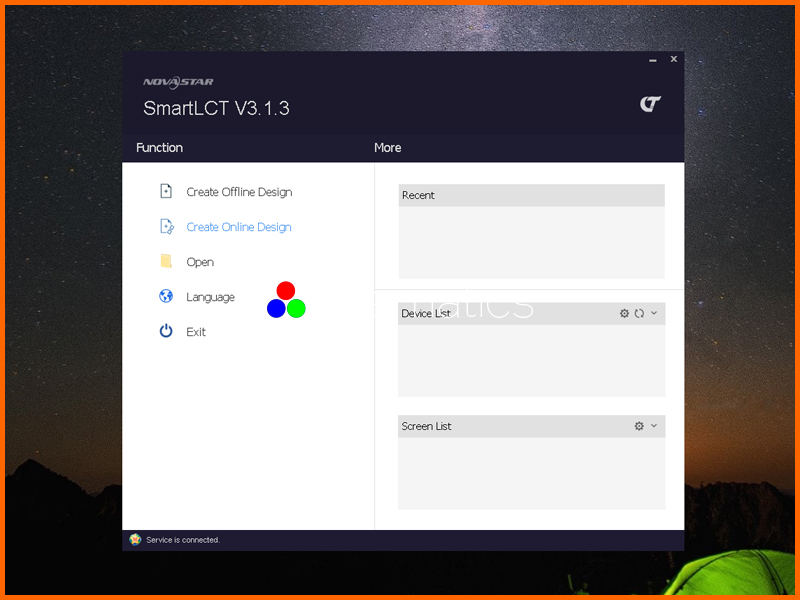
With Smart, NovaStar has made significant advances towards creating an intuitive software for setting up complex LED Display designs, both online and offline. The software is compatible with recent versions of Windows and with OSX.
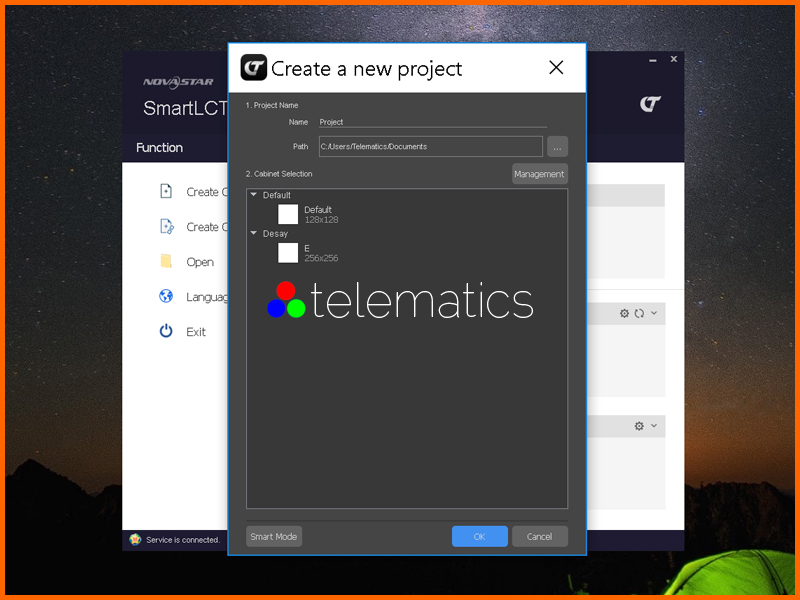
We have created a quick reference guide for Nova Smart LCT that should provide answers for most every question that comes up during an installation. We otherwise encourage you to download the manual for a comprehensive solution.
Key Features
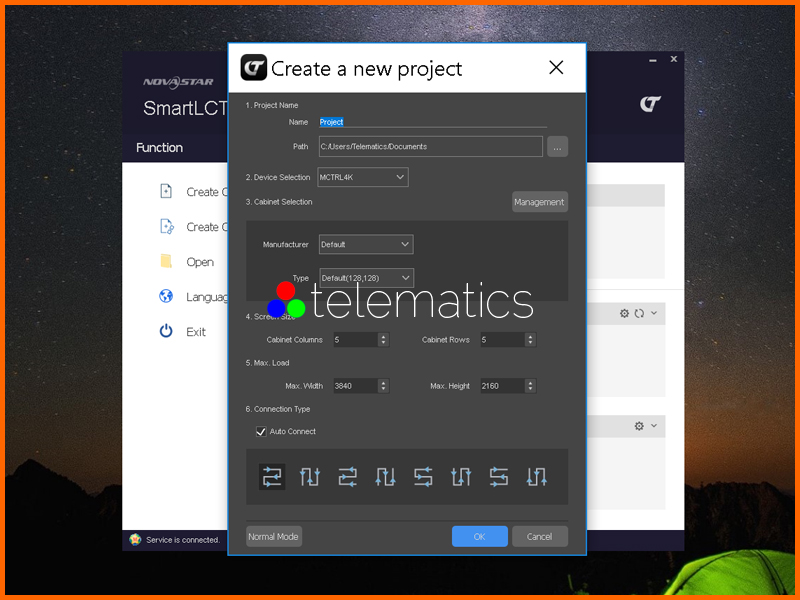
- Screen configuration like building blocks
- Angles of image rotation supports the multiples of 90° (working with the Armor series receiving cards)
- Supports 360° free image rotation (working with the MCTRL R5)
- Supports 18bit+ and ClearView.
- Supports receiving card program and configuration information readback
- Supports the monitoring service and platform
- Supports seam brightness adjustment
- The functions of video controllers can be set on V-Sender
- Supports cabinet brightness and chroma adjustment in batches
- Supports hot backup
- The canvas can be exported as an image
- Windows, OS X
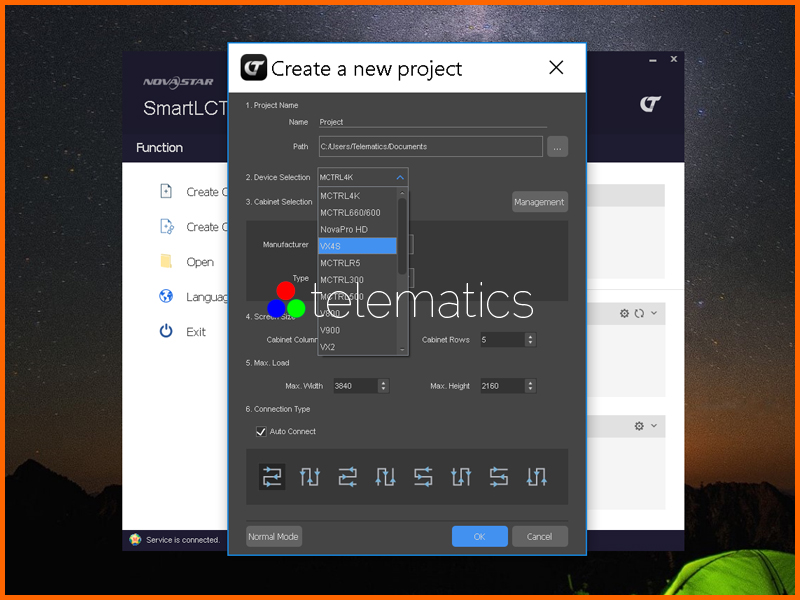
Configuration List
- Series MCTRL
- Series Professional
- Series VX
- Series MRV
- Series A8S